If you are not aware of How to take screenshots on a Dell Desktop? then you are in the right place. It is easy to just follow these steps and start capturing your Laptop’s screen like a pro.
About Dell
Dell is an Americal Multinational computer company which produces personal computers and provides related services. The company was founded by Michael Dell and is one of the largest technological corporations in the world. Currently, they are employing more than 140K people from the US in their company. Other than PC they also sell servers, data storage devices, computer peripherals, network switches, software, MP3 players, HDTVs, cameras, printers, and electronics.
There are many ways to take screenshots on Dell Desktop, you can follow anyone of ways provided below:
1. Taking Screenshot of the Whole screen by Pressing “PrtSc” key
Press PrtSc key and the whole screen will be copied to the clipboard
Now Press Windows logo key and search for Paint. In the search results click on the Paint program
Press Ctrl + V keys at the same time and the screenshot will be pasted into the Paint program.
Finally, Save the screenshot by Pressing Ctrl + S
2. Taking Screenshot of the Whole screen by Pressing Windows Logo Key with PrtSc key
To take a screenshot of the whole screen you need to Press Windows + PrtSc keys at the same time
Now Go to C:\Users\[Your Name]\Pictures\Screenshots where your screenshot have been stored
If you want to edit your screenshot just open Paint program and paste it
3. Taking Screenshot of An Active Window
To make the window active click anywhere on the tab
Now Press Alt and PrtSc keys at the same time and the tab will be copied to the clipboard
Finally, open the Paint Program and paste the screenshot by pressing Ctrl and V keys together.
To save the file press Ctrl + S keys together.
4. Taking Screenshot using the Keyboard (Windows 10 Only)
If you are using Windows 10 as your Current operating system then follow this method
Press the Windows Logo key, Shift key and Skey together
Click and drag your mouse and select a certain area of your screen to be recorded. Then release the mouse button.
Finally, to view your Screenshot simply go to C:\Users\[Your Name]\Pictures\Screenshots.
5. Taking Screenshot using Snipping Tool
You can also take screenshots using the Snipping Tool which is the Windows built-in program for taking screenshots. Follow some steps to take a screenshot using the Snipping Tool.
Snipping Tool Features
Custom Screenshot
Screen Capture
Various Modes Available
Instructions to take a screenshot using Snipping Tool on Dell Desktop
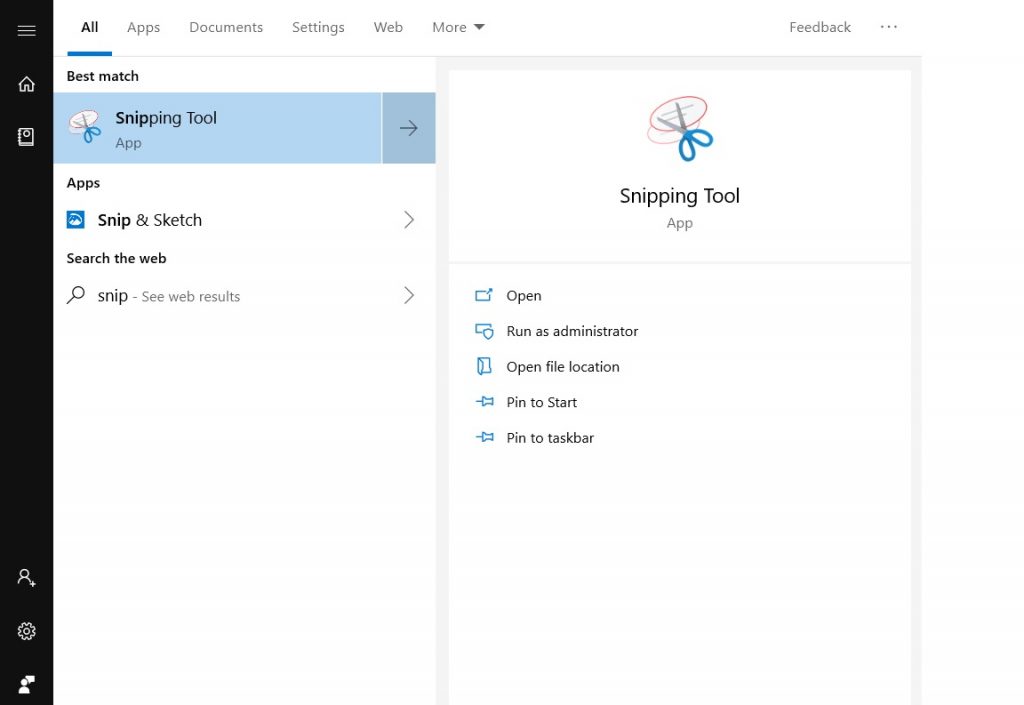
Click on the Windows Logo Button and type “Snipping Tool”
Open the program
Click on “New”
Now click Mouse and start dragging on the area you want to be captured and release the mouse
Finally, Click on the Save button by clicking on the Save Snip Icon.